From Caterpillar to Butterfly - Habitat Inspiration & A Super Simple Ikea Hack
/As promised, I wanted to share some butterfly habitat inspiration as a follow up to my post about The Junction Wings Project. So here it is! Don't hesitate to post questions in the comments.
Now that you've welcomed (or will soon be welcoming) some fuzzy little caterpillars into your home, you need to start thinking about a habitat. Lucky for busy parents, your caterpillars will remain in their little cup with their food for the first week, so you don't need to rush out to prepare this right away.
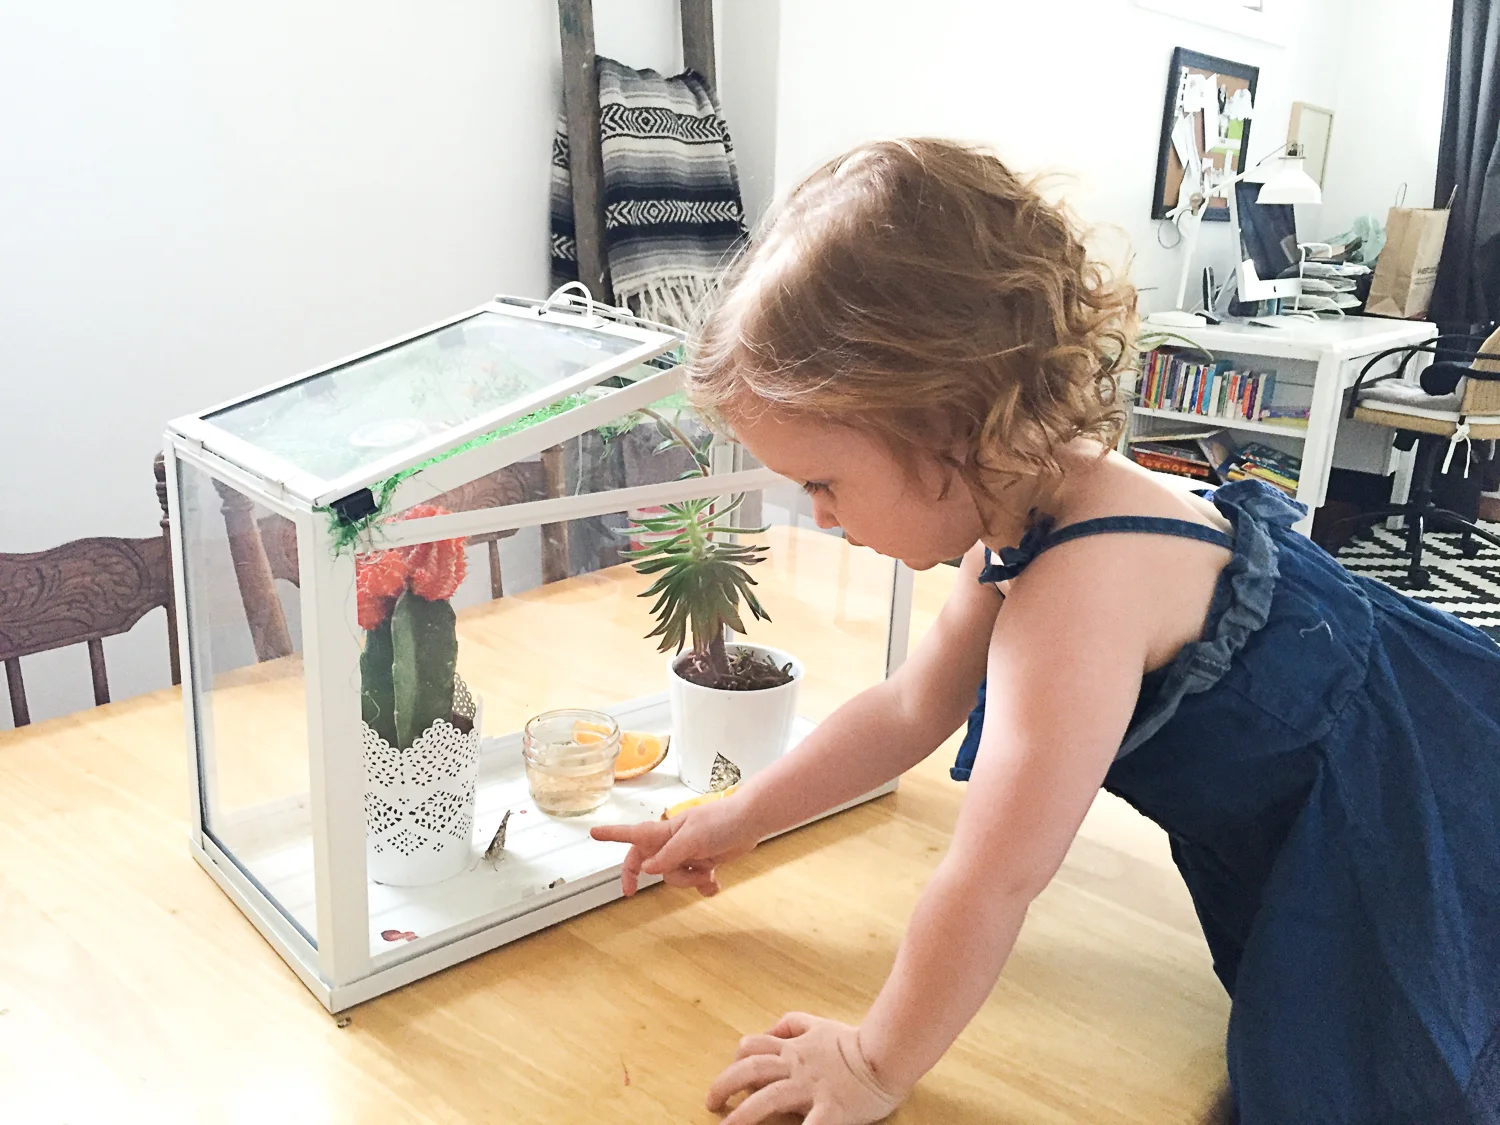
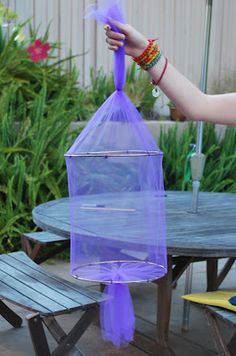
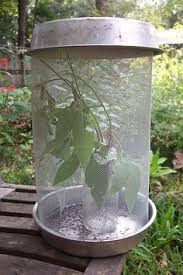
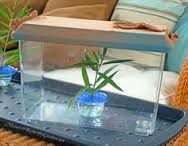
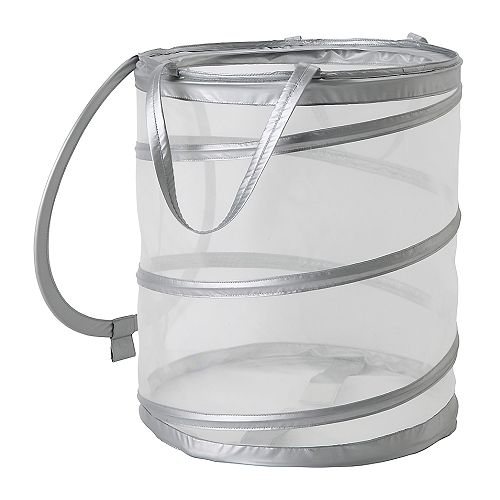
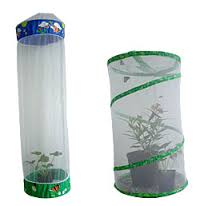
There are tons of ways to make a great butterfly enclosure, but keep in mind how old your children are and what might be needed to keep said children from killing said butterfly ;) The enclosure doesn't need to be fancy, but it needs to allow fresh flow of air, have a place for your cocoons to hang down while waiting for them to emerge, and keep your little butterflies safely inside once they hatch. You can make some simple DIY versions with mesh netting and various household items (see pics below). You can also use a mesh laundry hamper (like the one below from Ikea). Personally, having something that can't be easily crushed, and that doesn't sit on the ground, is top priority in our house. Our littlest is currently in the "destroy all things" phase, so keeping them out of her reach and safe is key.
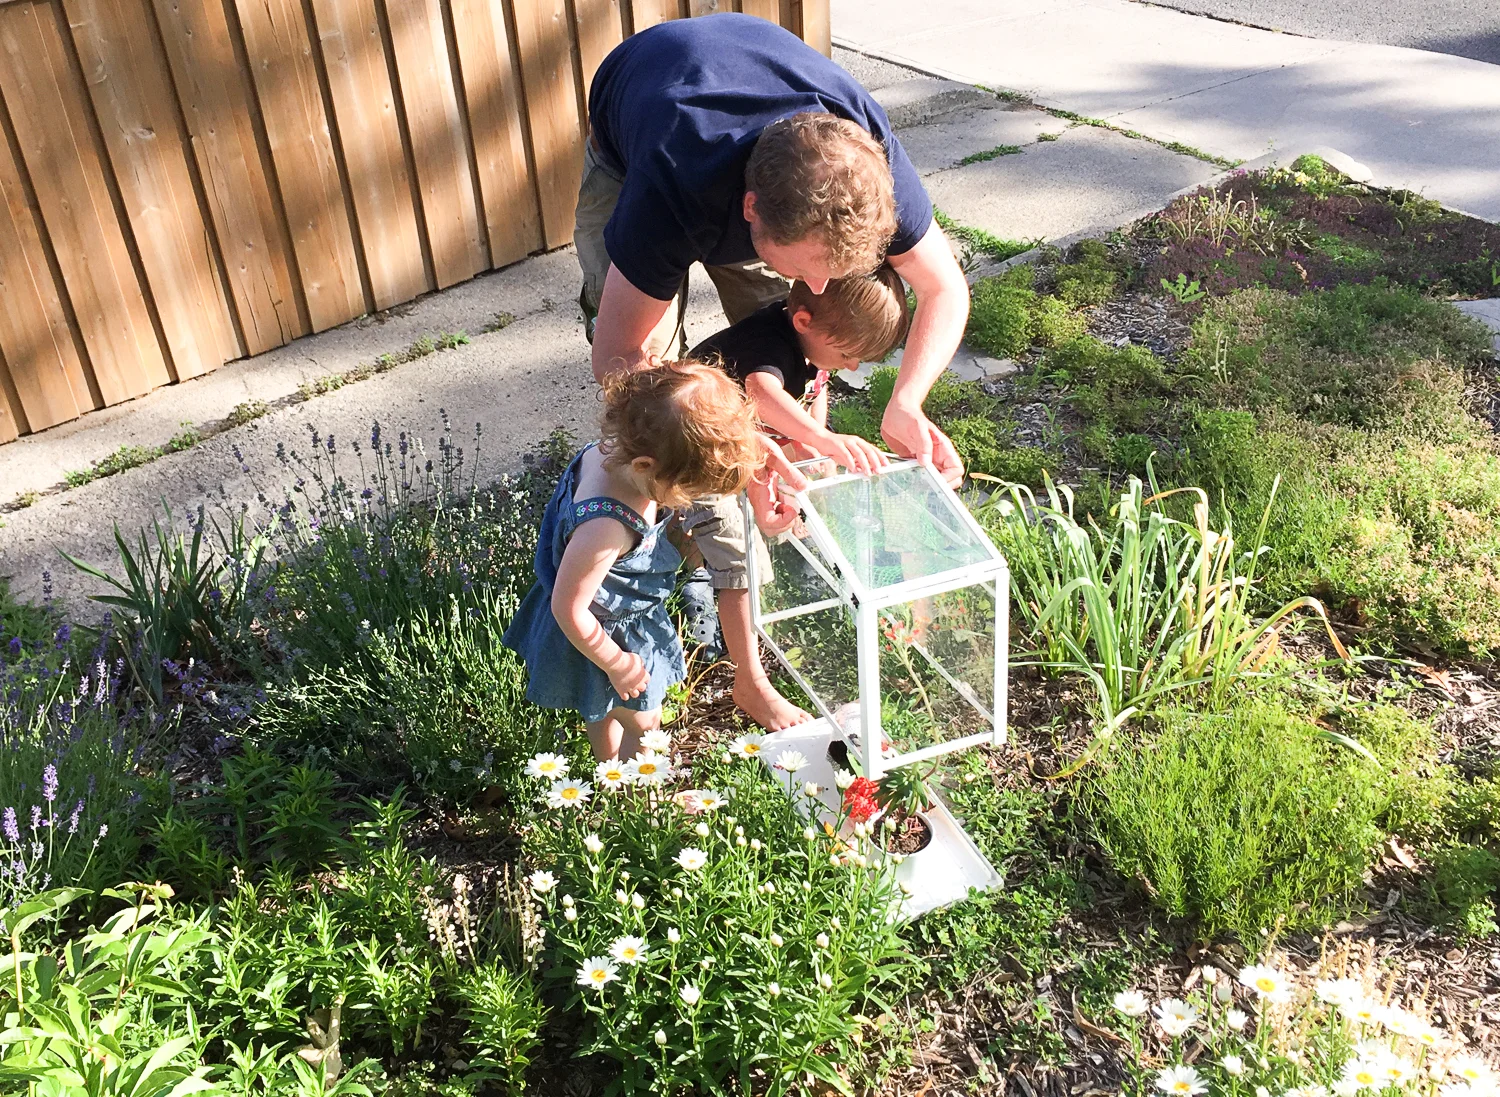
This is our 3rd season welcoming butterflies and we're still loving out Ikea mini greenhouse. We usually add a few plants and a mesh top. Last year we used simple bulldog clips to hold the mesh top in place (I used a recycled lime bag), but I found it frustrating with curious kids. This year I decided I wanted to improve the mesh top, so I removed one of the glass panels from the greenhouse lid and traced it out on a piece of cardboard (the box it comes in works great).
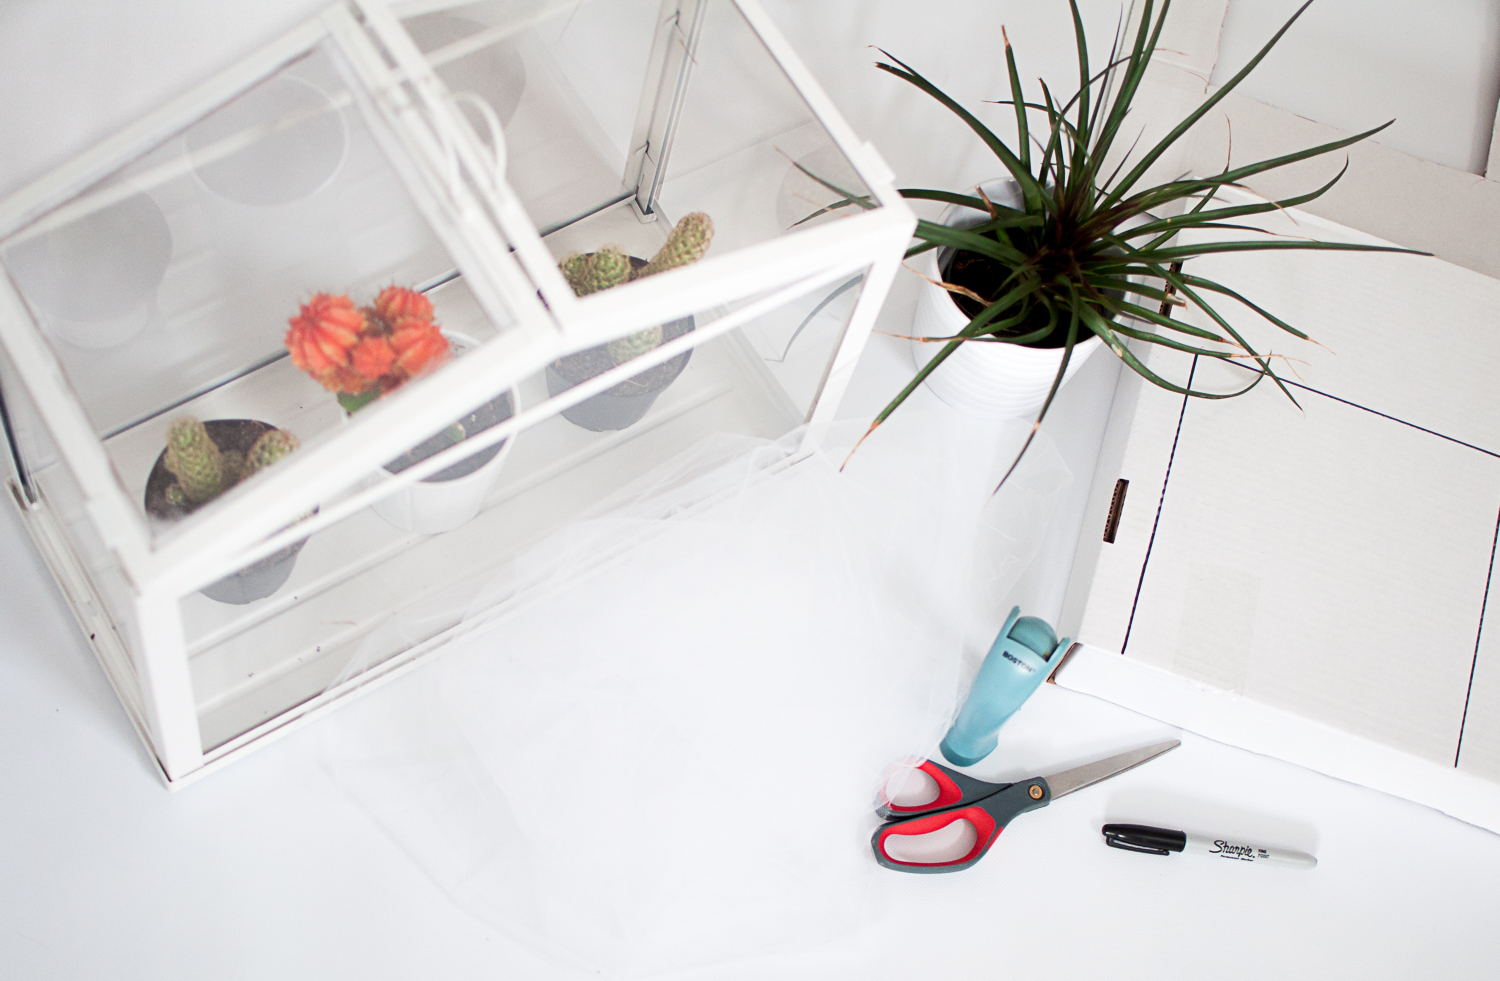
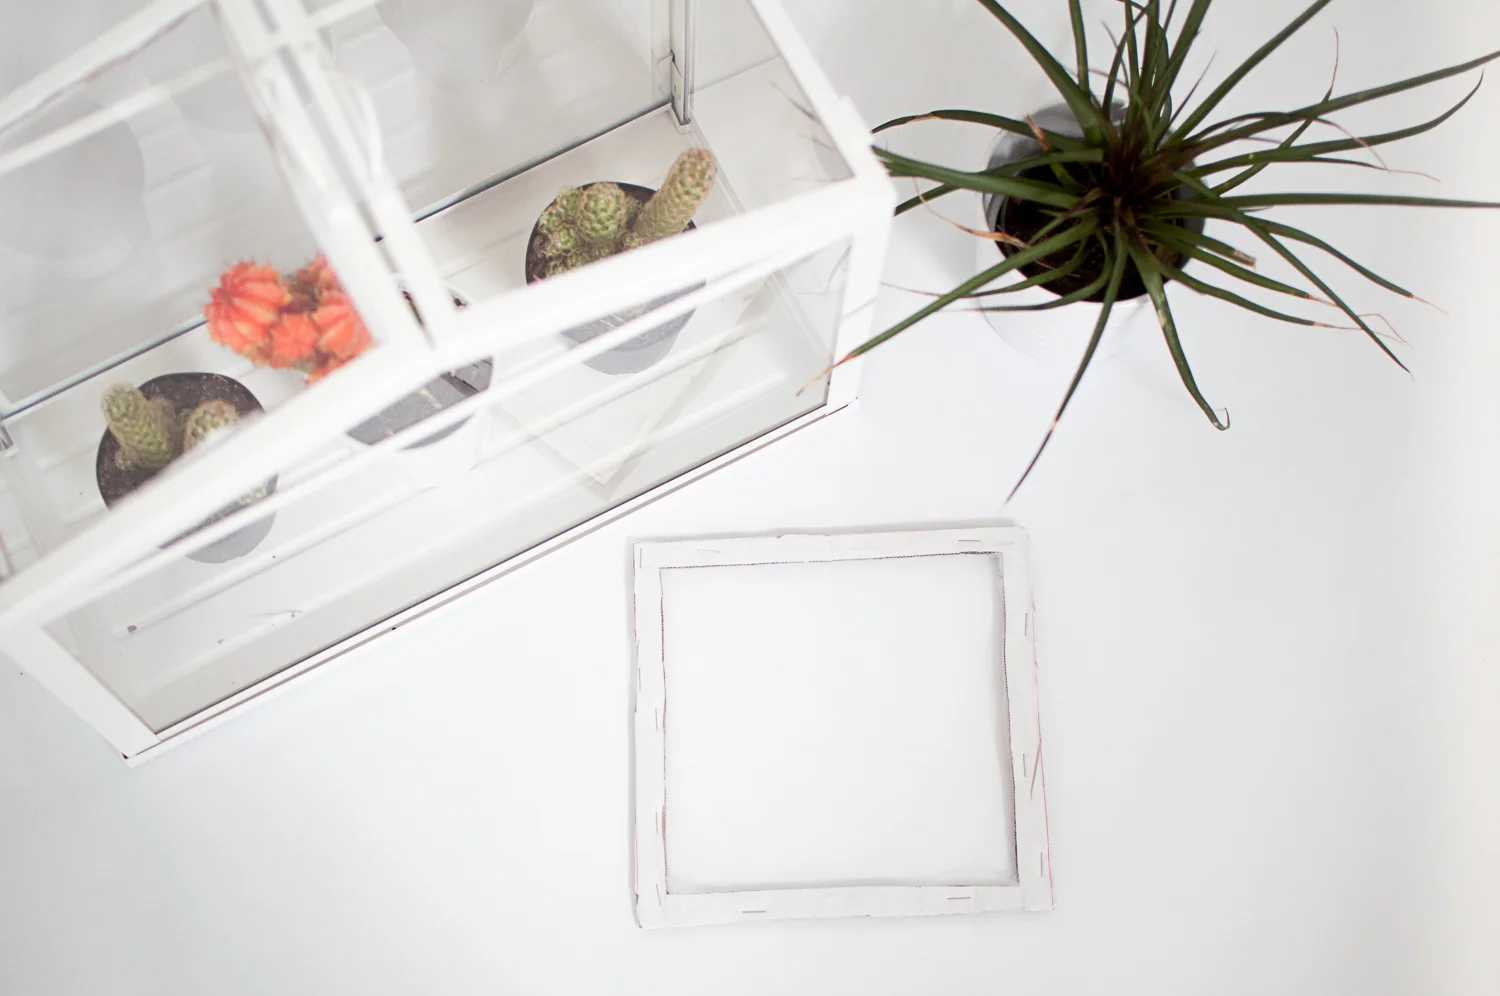
I cut out the square of cardboard and then cut out the centre of the square leaving only a 1cm wide outer edge frame. I then wrapped some organza (any type of soft mesh or screen will work. If you don't have a scrap laying around, your local hardware, fabric or dollar store will probably have something appropriate) over the cardboard frame and stapled it into place. The screen frame then slid nicely back into place in the top of the greenhouse. You could do both sides, but we're going to leave 1 glass and 1 mesh. Once the cocoons are ready and attached to the lids of their cups I will cut an X in the mesh and carefully lower the cocoons through. The plastic lids of the containers sit in the holes of the mesh so the cocoons can hang down into the greenhouse awaiting their arrival.
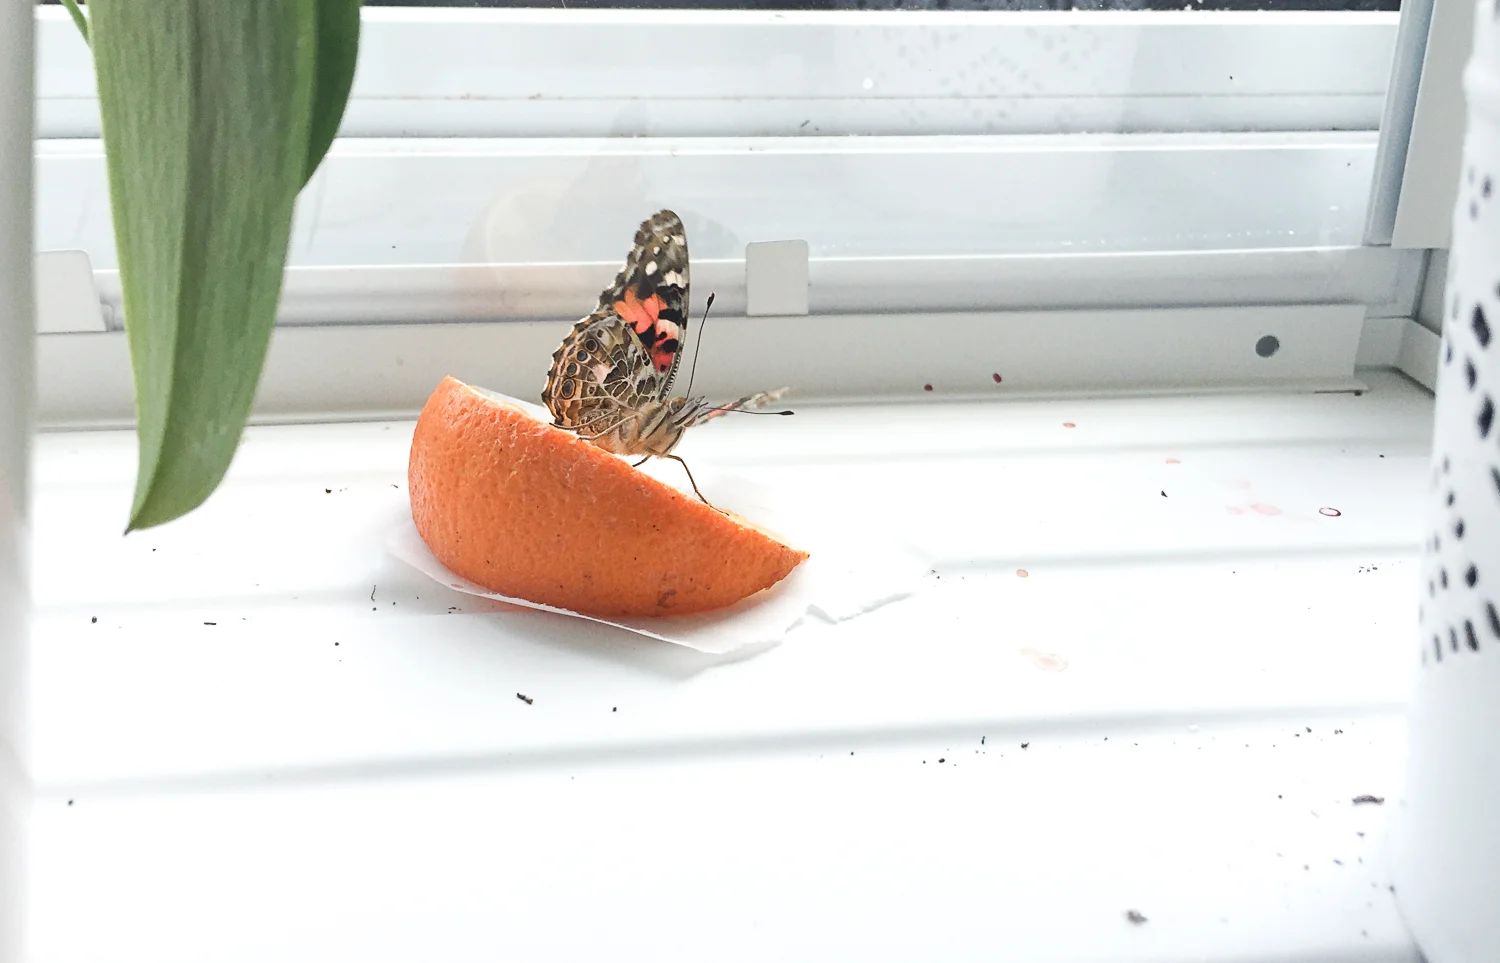
Once your butterflies hatch they will need to remain in your habitat for up to a week to dry out their wings and gain strength. Don't worry, the instructions that come with your caterpillar will give you all the details on the food options eg. sugar water & sliced fruit. Once your butterfly is flying around it's ready to be freed into the wild. We love letting our butterflies go in our garden every year.


Here is some more butterfly habitat inspiration:

Hope you have fun making a habitat for your little critters. Don't forget to share your adventures with #junctionwings.
Care